Posted on Leave a comment

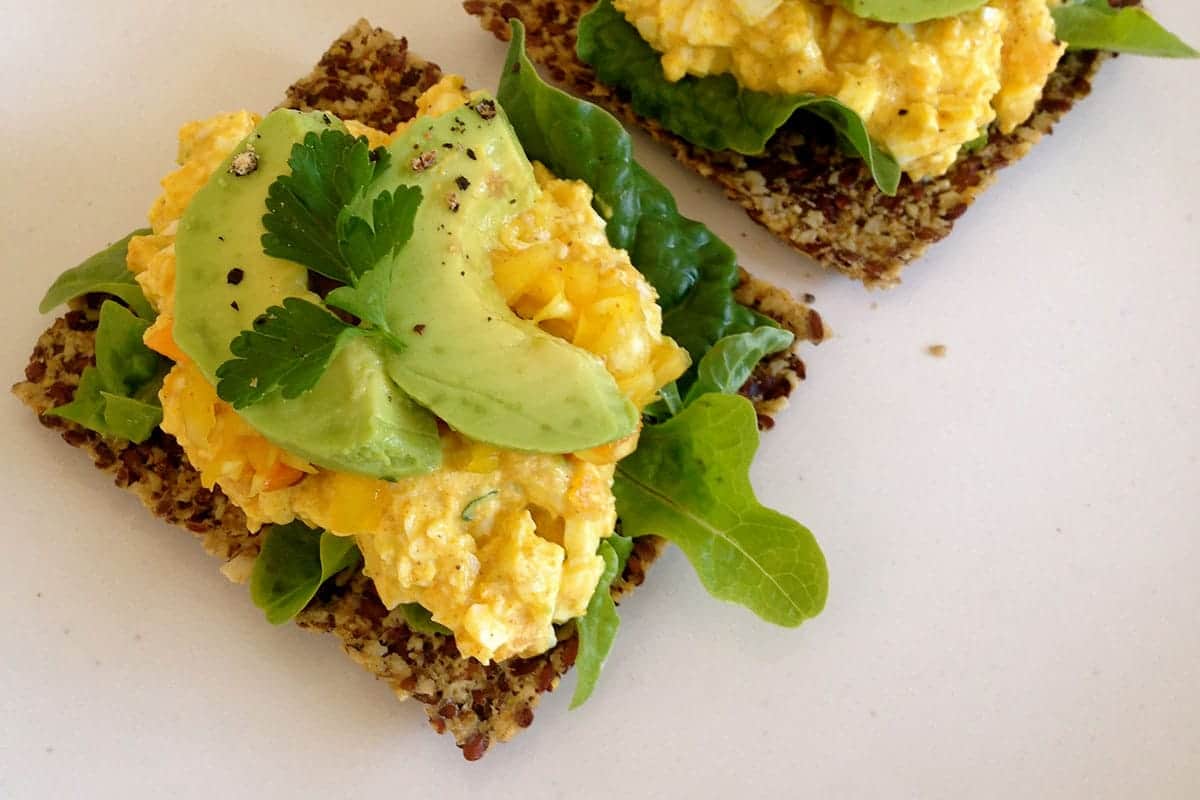
Healthy-as Curried Egg

curried-egg

Serves: 1

Seriously, I’m not entirely sure what possessed me to share this very last minute, made-up-on-the-spot-recipe, if not simply because I’d rather not forget it exists. As far as I am aware there are no rules for simplicity of recipes on blogs, so it seems I’m safe.

I have said this before and I’ll say it again. Curried eggs are OVERRATED! As a child, the curried egg sandwiches (complete with fluffy white supermarket bread and butter) were THE business. Moist, squeezing out the sides deliciousness. Strangely though they disappeared from my diet, along with Friday night fried dimmies (the treat when mum and dad went out), Kraft cheddar (heaven forbid) and what’s that processed meat roll called? The one we had with home made tomato sauce? I forget. Irrespective, curried eggs died an unjustified death with the rest of the processed rubbish that I (only occasionally) ate, as a treat. Shame.

Anyway, what was a very quick and easy lunch (above) was a total delight and I think it needs replicating (sans store bought mayo and any other nasties in sight).

You’ll need:
2 eggs, hard boiled, mashed up with a fork
1 heaped teaspoon Greek or natural yoghurt (I use five:am Greek)
1 teaspoon curry powder
1 teaspoon apple cider vinegar
1 pinch of salt

Mash up all the ingredients together and dollop onto your cracker, sandwich…whatever tickles your fancy. Enjoy.

Source: theholisticingredient.com

Posted on Leave a comment

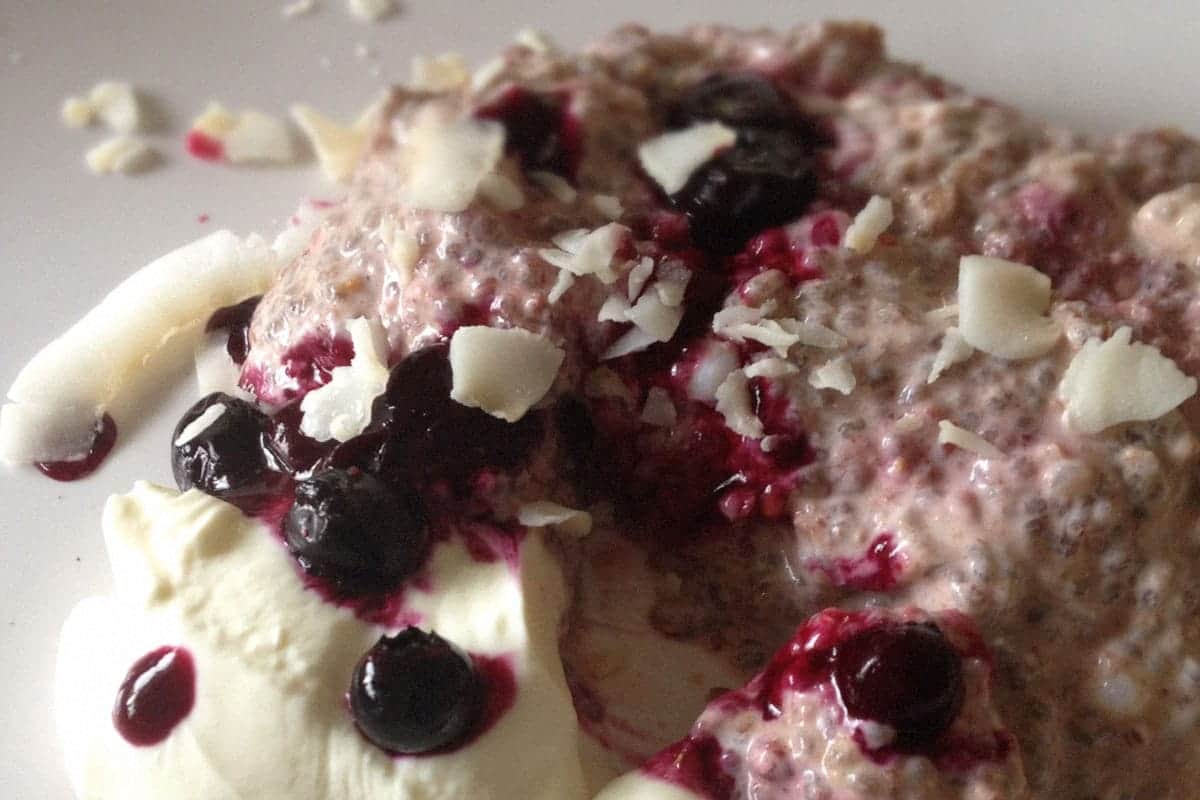
Raspberry, Goji & Vanilla Overnight Parfait

Serves: 1

It’s just after 9pm and my mind has no sooner switched off from thinking about a dinner creation and it’s moved straight onto breakfast. This is what happens when you’re a bit food ‘mad’ (I’ve said this before and I’ll say it again…I’m no rabbit in the meals department). I have spent many years of a corporate career trying to find an outlet that satiates my creativity and I guess I’ve found it. The purpose of those couple of sentences is to show you what often happens in my kitchen after dinner. Breakfast happens. And attached is yesterday’s breakfast which was lovingly prepared in about two minutes.

People, this is FAIL proof, seriously. As long as you don’t add salt instead of stevia or pepper instead of chia seeds. You get my drift. In any case if you haven’t yet discovered chia seeds, please give these little seeds of joy a go. They are so very good of you – they have the highest known plant source of Omega-3 – sold?! But the best thing is that they are super versatile. Add liquid to chia and it turns into jelly, thickens up in the space of 10 minutes. For a “need-a-spoon-consistency” smoothie lover like myself, chia is a dream come true.

You’ll need:
1/3 cup chia seeds (white or black, no difference)
3/4 cup almond milk (or your choice of milk, you could even use water)
1/4 cup raspberries
1 heaped teaspoon goji berries
1 tablespoon of natural, full fat yoghurt
Stevia to taste (I used a fat pinch)
1 dessert spoon ground flaxseed (or LSA and both optional)
A few drops of vanilla essence or vanilla powder
1 dessert spoon mesquite powder (or maca powder, both optional)

Throw it all in the glass and stir. Cover and pop in the fridge for breakfast. Voila!

A word of warning, don’t leave your chia seeds sitting in the liquid at the bottom of the glass even for a minute. They’ll solidify and you’ll have a battle mixing in all the other ingredients. Also, never fear if you don’t have all of these ingredients. You could throw chia, milk, a sweetener and berries and you’ll have a beautiful thick parfait. You could also add nut butters, chopped nuts, coconut oil (oh lord that’s good – it solidifies in little bits and adds great texture). Go for your life with it. Also, you can do this 15-30 minutes before breakfast. I’m just a bit food mad and can’t wait that long.

Source:

Posted on Leave a comment

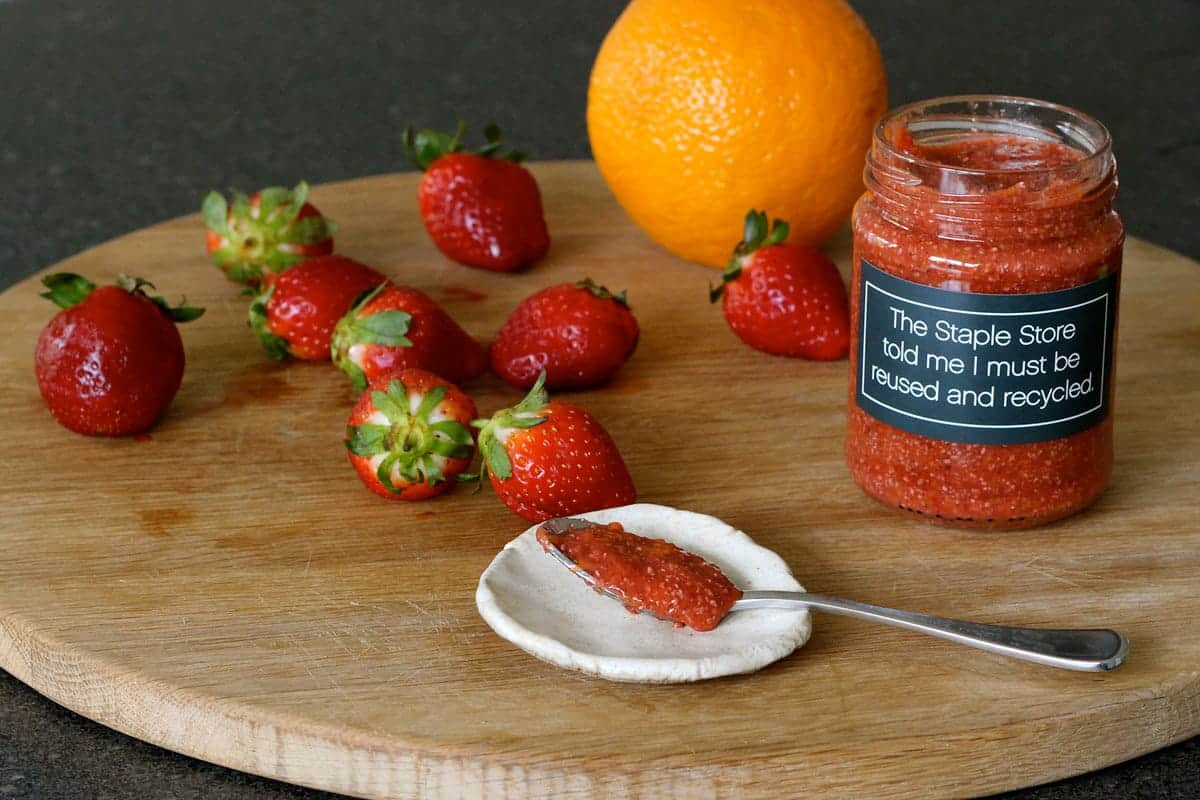
Strawberry, Orange and Vanilla Chia Jam

strawberry-orange-and-vanilla-chia-jam

Last weekend I went to the markets on Sunday afternoon. As many of you would know, visiting the markets at the end of the week has it’s upside – you get loads of produce very, very cheaply! The downside can be the sheer volume of people with the very same idea, which is one reason I don’t tend to go on a Sunday. Anyway. This particular Sunday I bought a LOT of strawberries (a lot of very ripe strawberries) which needed immediate attention. After the recent success of my Raw Raspberry and Vanilla Chia Jam, I decided to create an equally delicious jam, only this time using fresh strawberries. As with the last recipe – jam was never easier to make, mark my words! Oh and a special little shout out to the gorgeous Catie at The Staple Store, who is one of the most loved functional food store owners going around (in Melbourne). She rocks.

You’ll need:
1.5 cups fresh strawberries
3 tablespoons chia seeds
1/2 orange, peeled
1 teaspoon orange peel or zest (I literally just sliced a little of the peel, omit if you prefer less tang)
Seeds of one vanilla pod (or vanilla essence)
Sweetener to taste (I used 4 drops of liquid stevia, the orange is quite sweet so you don’t need much).

Simply throw all your ingredients into your blender and blend until smooth. Cover and pop in the fridge for a minimum of an hour or overnight. The jam should last in your fridge for up to a week. If you prefers yours runnier, add 1/4 cup water to the blender.

Source: theholisticingredient.com

Posted on Leave a comment

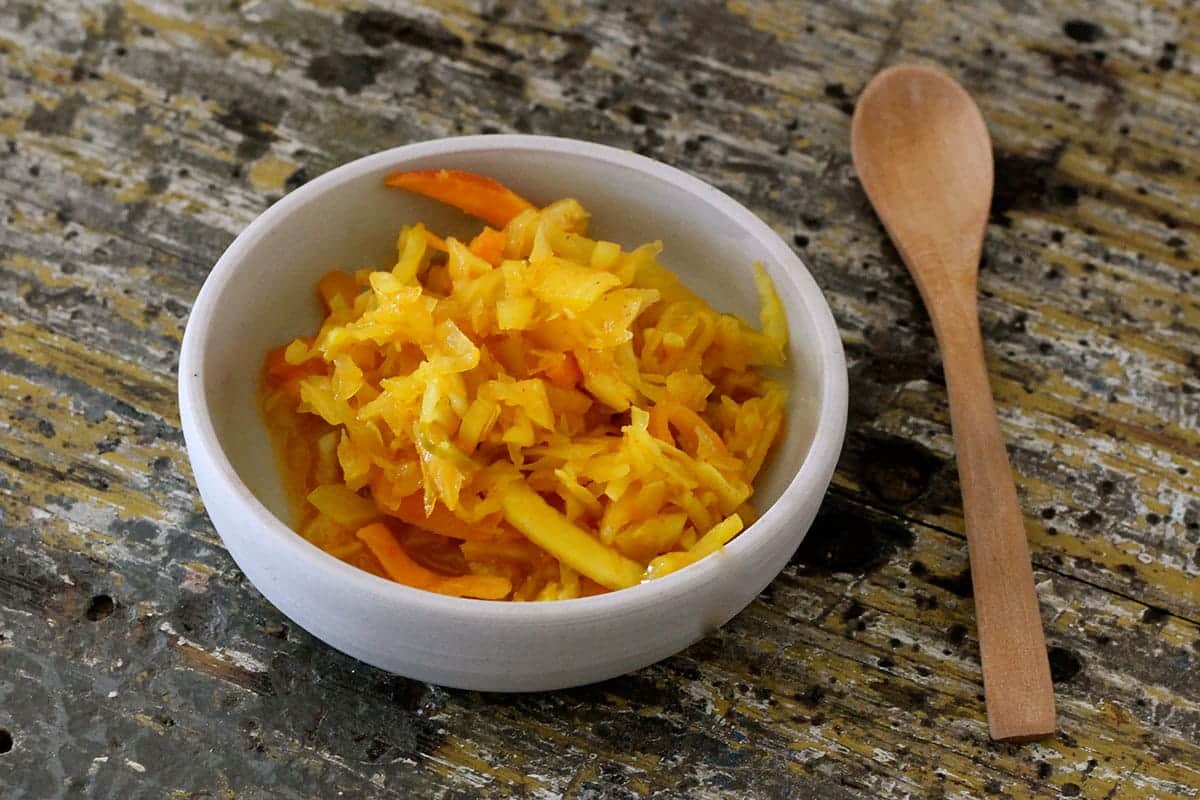
Spicy Kimchi

spicy-kimchi

Kimchi is a spicy and tangy fermented food originating from Korea, where it is typically eaten with every meal, thus making it is a day-long family affair. Kimchi works well in fried rice, in spicy kimchi soup, or simply as a side dish. It is a great digestive aid to get the juices flowing before dinner. And, if you have never ventured into the world of fermented foods, Kimchi is a great place to start.

As I mentioned in yesterday’s post, fermented foods are a very important part of our diet and have been used in many cultures to preserve foods, aid digestion and promote the balance of health bacteria within the gut. Read more about the benefits of Fermented Foods here.

It is important to note that fermented foods (e.g. kimchi, sauerkraut) differ from cultured foods in that they ferment by way of bacteria naturally present in the food. Cultured foods (e.g. yoghurt, tempeh, kombucha) add bacteria and require a starter. Both fermented and cultured foods add ‘good’ bacteria to your digestive system, they just do so through differing processes.

With all this talk of bacteria, you’re probably wondering, “…am I going to get ill from this bacteria laden kimchi?” Let me assure you, it is only good bacteria we are talking about, and this recipe is completely safe. Keep it in the fridge once prepared though, ok?!

So, as promised, here is a delicious recipe for kimchi. Adapted from a book by Sandor Ellix Katz “Wild Fermentation”, this recipe was given to me by a delightful Gwinganna Naturopath, Sarah McKenzie, during my recent visit to the extraordinary lifestyle retreat. This is a great project to consider for the weekend as the recipe takes two days to complete.

You’ll need:
Sea Salt (or Celtic/Himalayan)
Half a large drum cabbage
12 radishes
2 carrots
1 onion
1 large chilli
1/2 bulb of garlic
3 tablespoons fresh ginger

Mix a brine of about 1 litre of filtered water and salt to taste (approximately 1 tablespoon). Taste as you go and add the salt gradually so as not to over salt. Stir to dissolve. The brine should be salty, yet palatable.

Coarsely chop the cabbage, slice the radishes and carrot (I like to use purple carrots). Let these vegetables soak in the brine overnight, covered with a plate to submerge. At this stage you may ad other vegetable if you so wish (seaweeds, green beans, beetroot etc).

The following day, prepare the herbs and spices. Grate the ginger, chop the garlic and onion, remove the seeds from the chilli and chop finely (or throw them in whole). Kimchi can absorb a lot of spice so go for it! Don’t worry to much about perfecting quantities.

Drain the vegetables that were soaking, and reserve the brine, If the vegetables taste too salty you can give them a quick rinse with cold water. If not salty enough, add more salt and give a good stir.

Mix the vegetables with the ginger/garlic/chilli/onion paste, then pack into clean glass jars (500ml or 1 litre). Pack tightly and press down on the vegetables until the brine rises. If necessary, add a little of the reserved brine to submerge the vegetables. If you chose to screw on the lid at this stage you may want to open it every few days in order to let out some pressure. Or you may chose to cover the top of the jar with a muslin cloth and affix with a rubber band.

Ferment in your kitchen or other warm place. Taste the kimchi every day. After about a week of fermentation, and when the mix tastes ‘ripe’, affix the lid and store in the fridge. Done! This recipe will keep for a couple of months, but let’s face it, it’s quite unlikely to last that long.

Speaking of gut health, if you’d like to know how to make your own coconut yoghurt at home, you can find the recipe in A Nourishing Morning. I was actually very surprised at how simple it was to make. Affordable too.

Source: theholisticingredient.com
Posted on Leave a comment

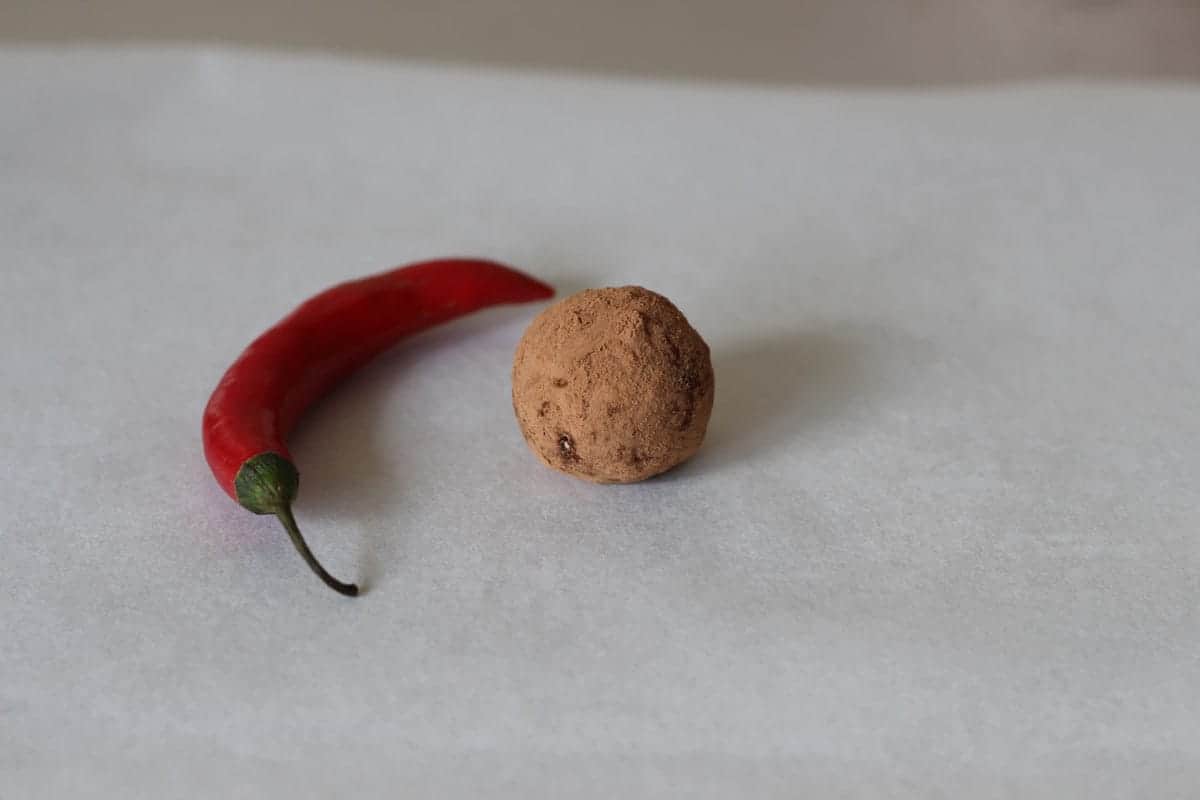
Choc Chilli Protein Balls

Protein-balls

Makes: 20 balls

KAPOW! These little ‘pack a punch’ protein balls are our latest healthy treat creation, laden with sustaining goodness to fill that lengthy in between meal gap. With just enough chilli to give your metabolism a boost and plenty of cacao to kick free-radicals to the curb, you’ll be eyeing off the last of these beauties too quick for your likening. Try not to eat them all in one go, if you can possibly refrain.

Make a heap and throw them in the freezer for rainy/hungry days.

You’ll need:
2 cups activated nuts (we used walnuts, brasil & almond)
1/2 cup pure whey protein (or natural protein powder of choice)
1/4 cup chia seeds
1/4 cup water
8 fresh medjool dates, pips removed and cut into pieces
3 heaped tablespoons raw cacao
3 tablespoons coconut oil
2 tablespoon goji berries
1 red chilli, finely chopped
1/2 teaspoon ground cinnamon

Place your nuts into the blender and blend roughly. If you want your protein balls to come with a hot kick, keep the seeds in the chilli. If not, remove the seeds prior to blending. Add all remaining ingredients and blend thoroughly for a good minute or two. The resulting mixture should be moist and tacky. Spoon into bite size balls and use your hands to roll. Roll in raw cacao or dessicated coconut.

Source: theholisticingredient.com
Posted on Leave a comment

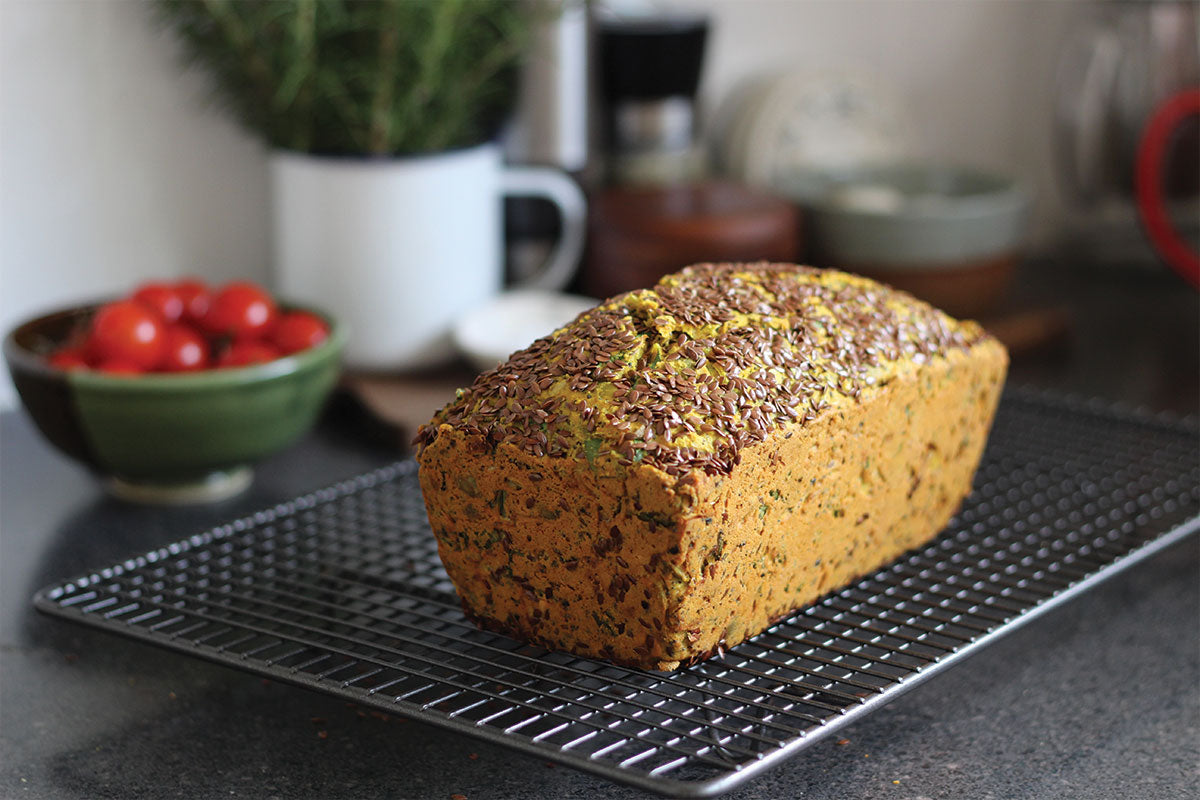
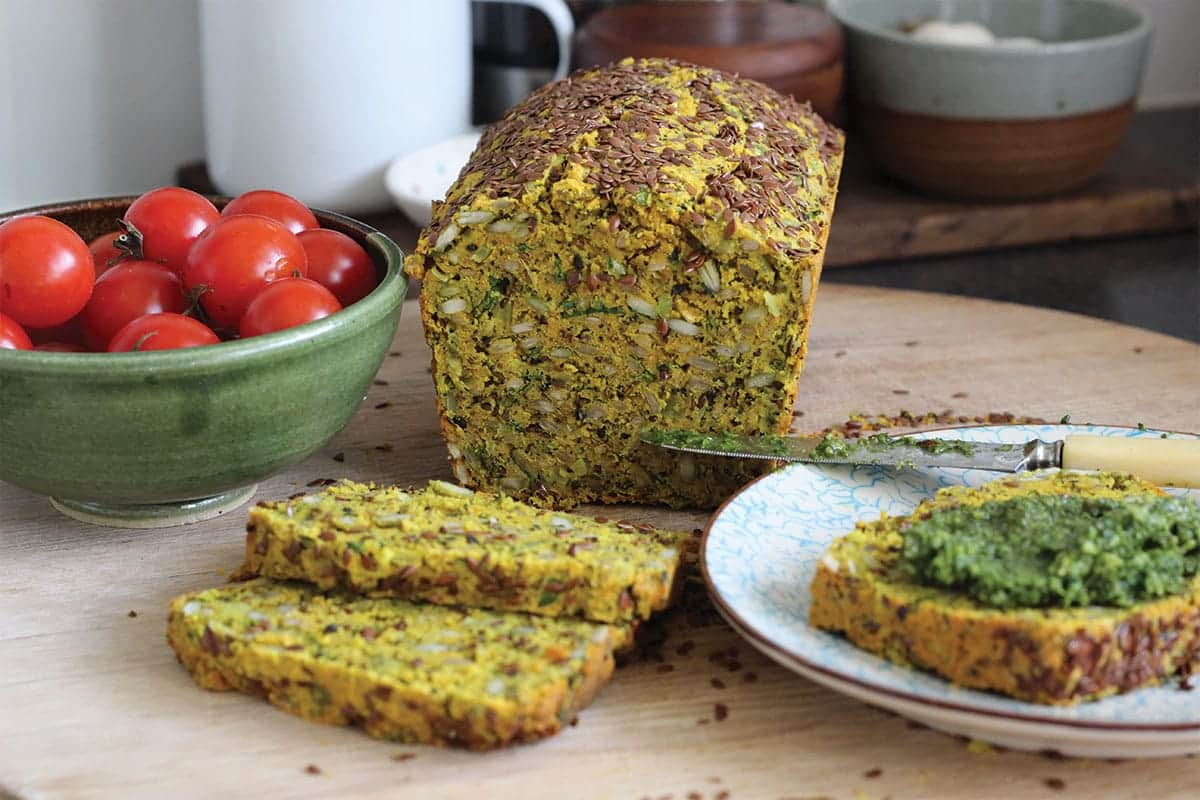
Turmeric, Goats Curd – Onion Seeded Loaf

turmeric-goats-curd-onion-seed-loaf

If I could bake this loaf every day, I would. Laden with so much goddam goodness, it is seriously deeeeeeeLISH! This loaf made its first glorious appearance in my A Nourishing Morning eBook and it’s been a standard in my kitchen ever since. An all-round good guy in the nutritious and delicious stakes, it’s a dead-set winner. Need I go on?

Okay, I will. So where do I start? Well, firstly, there’s the hero of the loaf – turmeric. A powerful anti-inflammatory with a list-as-long-as-my-arm of benefits. Goats curd, high in calcium and great for anyone with a dairy intolerance. Onion, not often given much cred, but a wonderful immune-booster. And finally, those little nutritional powerhouses, seeds, including the little dynamo of plant-based omega-3 fatty acids, flaxseed.

Eat it on its own or top it off with some extra goats curd or my kale pesto and you have yourself a meal. Me thinks, sorry knows, you’ll love it!

Makes 1 loaf

1 2/3 cup white rice flour
1 ½ cup mixed seeds
150g goats curd, coarsely crumbled
4 eggs
2 cloves garlic, peeled, crushed
1 brown onion, peeled, finely chopped
½ cup parsley leaves, roughly chopped
½ cup basil leaves, roughly chopped
½ cup flaxseeds
2 tablespoons coconut oil, melted
1 tablespoon turmeric, ground
½ teaspoon bicarbonate soda
¾ teaspoon sea salt
Black pepper to taste

Turmeric goats curd onion seed loaf

Preheat the oven to 180 degrees C. Grease and line a loaf tin.

In a large bowl place the white rice flour, turmeric, bicarbonate soda, salt, pepper and mixed seeds. Add the onion, garlic, goats curd and herbs, mixing gently to incorporate.

In a small bowl whisk the eggs until foamy then incorporate the coconut oil. Pour the egg mix over the dry mix and combine.

Scatter half the flaxseeds over the base of the loaf tin. Add the batter to the tin. Scatter the remaining flaxseeds on top. Cover the loaf with foil, place in oven and cook for 25 minutes. Remove foil and cook for another 15 minutes until golden and a skewer inserted into the centre comes out clean.

Turmeric goats curd onion seed loaf

For more turmeric love, try my golden turmeric milk – a great accompaniment to this recipe – or maybe these moorish Roasted Turmeric and Chilli Cashews.

Remember to let me know if you love this recipe as much as I do – any and all feedback is always welcome down below. Oh and and any topping combos you try – we love a little inspiration around here.


It’s giveaway time!

This week I am giving away THREE copies of my A Nourishing Morning eBook, full of super healthy, gluten and refined sugar-free delicious recipes, 75 of them in fact (for any time before noon).

All you need to do is share in the comments below one simple thing you do in your morning routine to boost your health or happiness, by COB Friday 2nd December. No more than 50 words (and don’t worry if it’s the same as anyone else’s, the winner will be chosen by random number generator). I’m rather looking forward to reading everyone’s tips!

Conditions of entry: you must be a THI subscriber. If you’re yet to join this tribe you can do so by popping your email address in towards the bottom right of this page. 


Source: theholisticingredient.com
Posted on Leave a comment

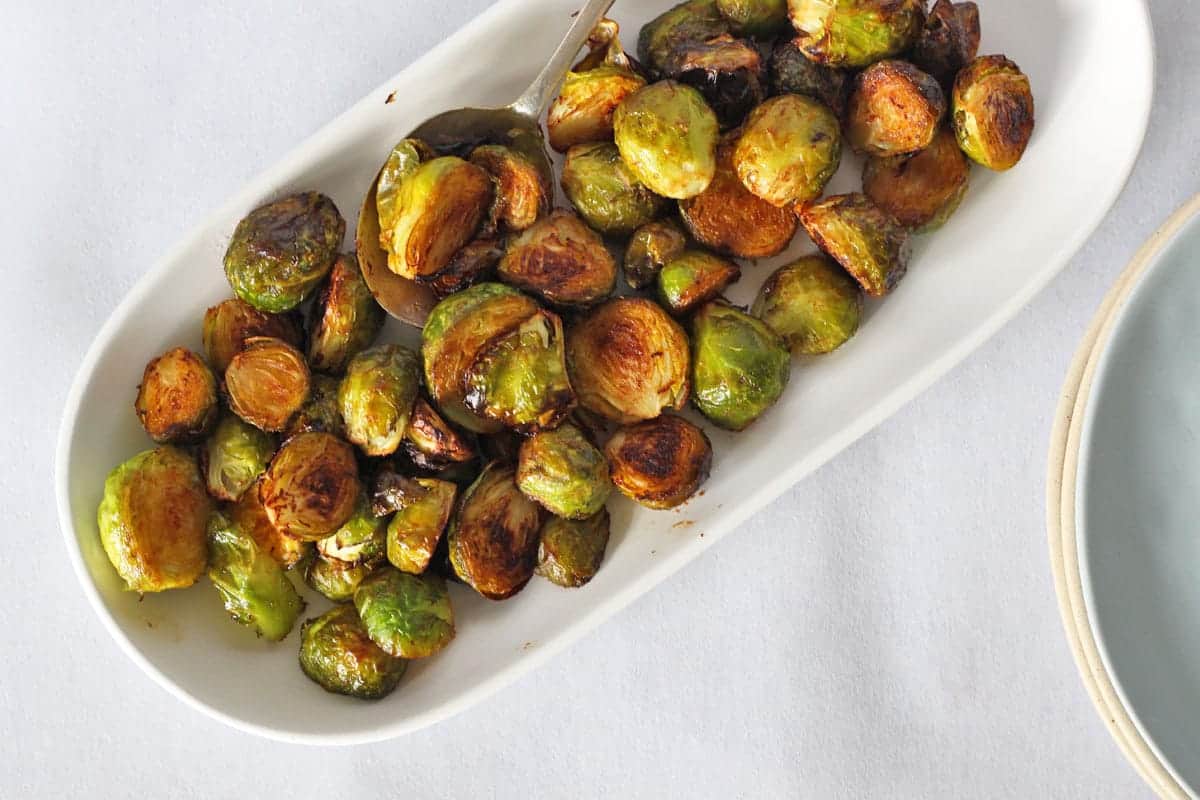
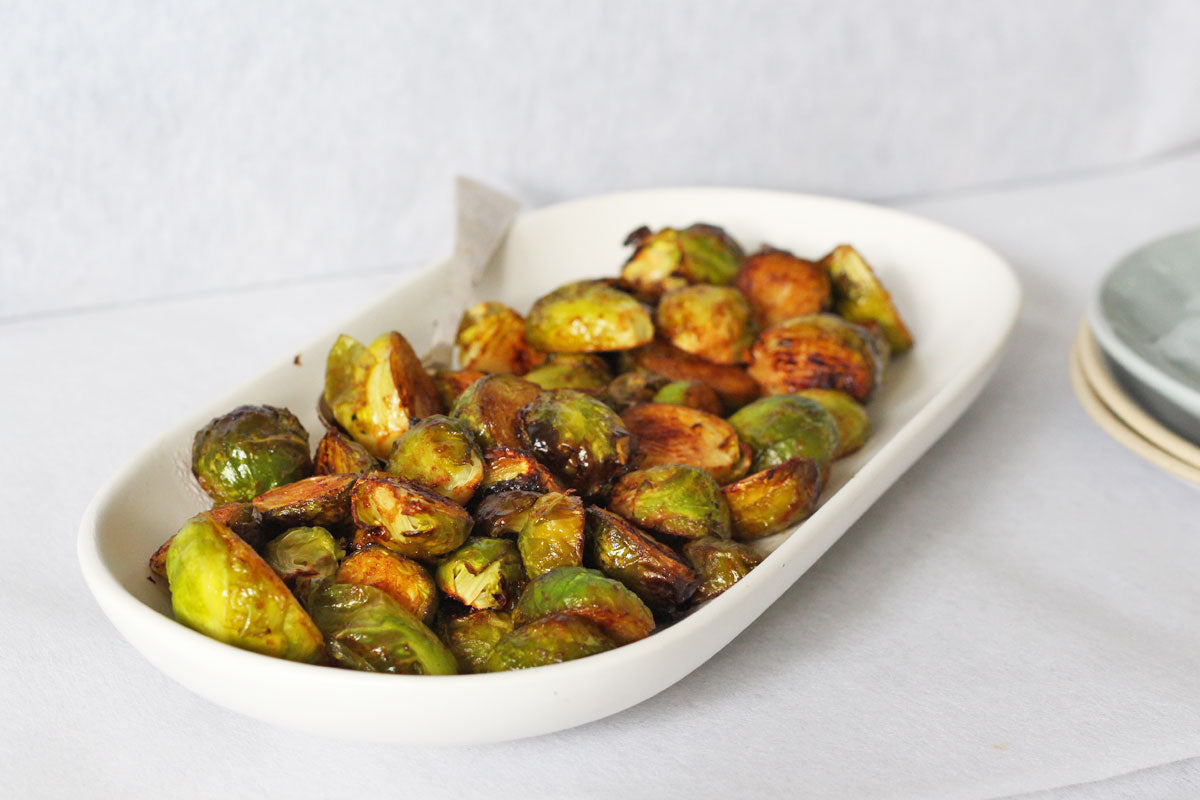
Wasabi and Tamari Roasted Brussels Sprouts

Wasabi-and-Tamari-Roasted-Brussels-Sprouts

One of the best things about eating only seasonal produce is the way it feels when their times comes around again – you get such a lovely suprise when they greet you in store, in the season for which they belong. Mangoes and raspberries in summer, figs towards the end of summer, mushrooms in autumn, and on it goes. It’s difficult to tire of such foods when you know you’ve got limited time together; it keeps things interesting and inspiring in the kitchen.

One of the most wonderful feelings for me each winter is the arrival of brussels sprouts and if I could be honest, by the time their season closes we are probably ready to part. The brussels sprout and I hang together a LOT.

Most of us, we’ve had our battles with these little bundles of goodness haven’t we. As a kid I sat up at the kitchen table until each cold and soggy sprout was forced down my reluctant throat. If my memory serves me correctly I’m pretty certain it was the way in which they were prepared that created such instant repulsion in my mouth.

I’ve decided that it’s my job today to INSIST that the brussels sprouts haters amongst you TRY THIS RECIPE. You hear me? Try this recipe and if you still can’t stand them you are hereby relieved from any further brussels sprouts consumption.

I’ll be honest though, I’ll be suprised to hear if their beautiful flavoursome, caramely burnty bits don’t win over your heart.. I’m that confident.

Wasabi and tamari roasted brussels sprouts

Serves 4 as a side.

500 grams brussels sprouts
1 tablespoon coconut oil, melted
1 heaped teaspoon wasabi paste
2 teaspoons tamari

Preheat your oven to 200 degrees celsius and line a baking tray with baking paper.

Rinse and dry your sprouts and trim their ends, removing any spoiled leaves from the sprout at the same time. Slice in half length ways.

In a large mixing bowl combine the coconut oil, wasabi and tamari. Adding your brussels sprouts to the bowl, toss until the sprouts are very well coated.

Spread out evenly onto your tray, cut side down and place in the oven for approximately 20 minutes, or until their edges turn a rich golden brown. Don’t be worried if you get black bits like I have – burnt edges on a brussels sprout are nothing to be scoffed at! You may though like to turn your oven tray around during cooking if your oven temperature is uneven.

Remove and serve immediately. These are also gorgeous over the next couple of days in a salad.

Roasted Brussels Sprouts with Wasabi and Tamari

So tell me, what is your favourite way to eat brussels sprouts? And if you’re not a lover, PLEASE let me know if I actually do manage to convert you with this recipe!

Source: theholisticingredient.com